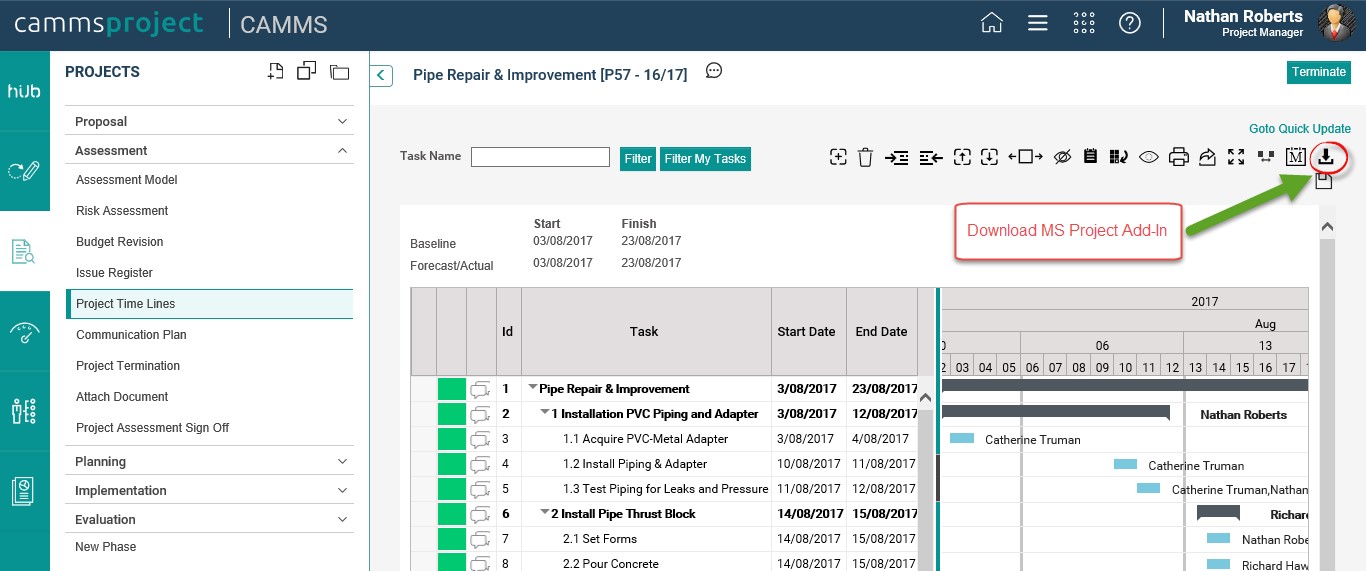
2. Once you click on the icon, a pop-up will be displayed for you to download and install MS Project Add-In. Click on ‘Download’ link in the pop-up in order to commence the installation.
Your configuration details will appear in the pop-up as well. These details are specific to your environment and you will need these details to configure the add-in in MS project after installation.

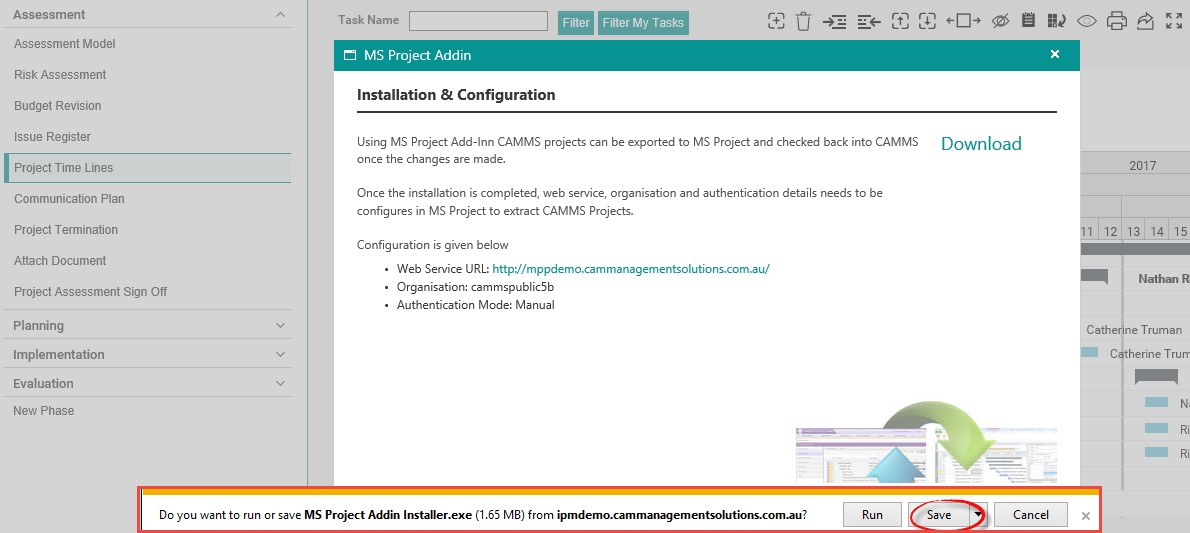
3. 'Save’ the MS Project Add-In Installer.exe to download the set-up file.
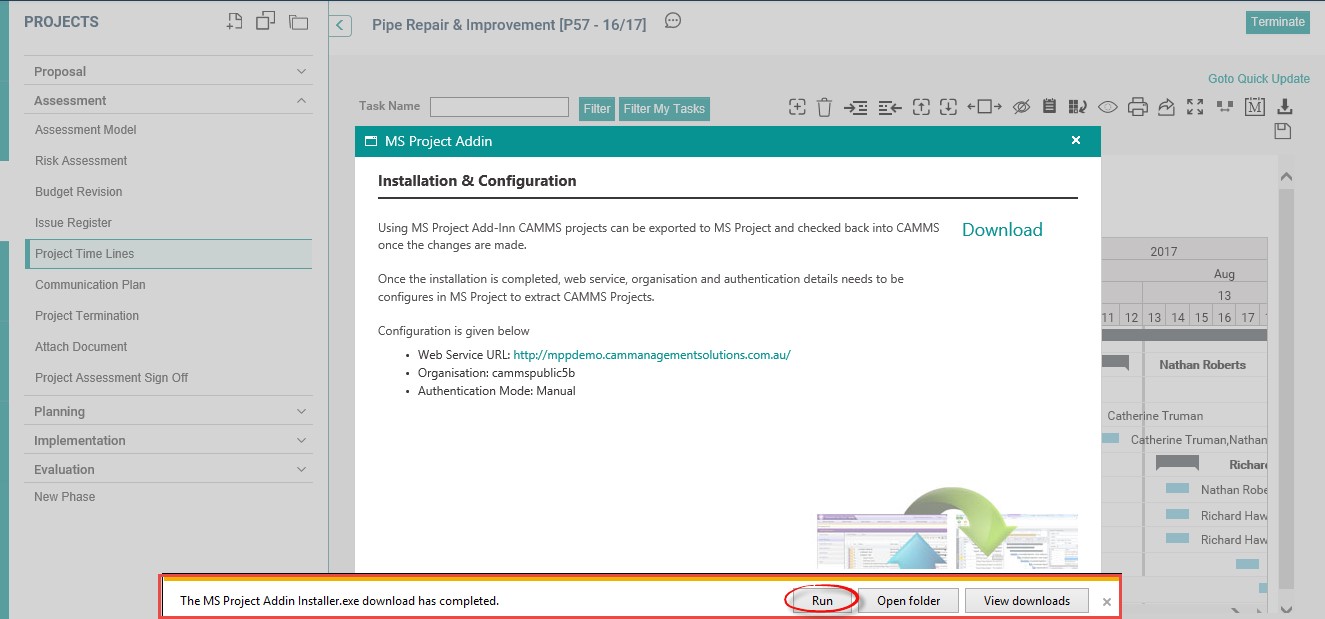
4. Once the download is completed, click on ‘Run’
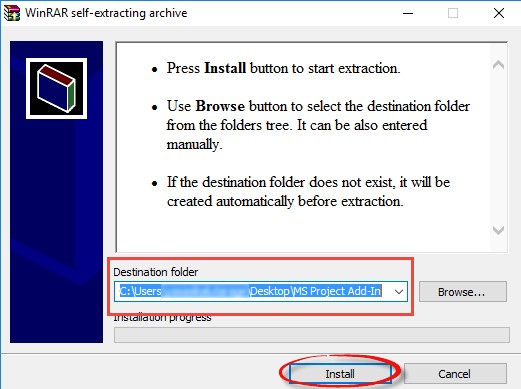
5. Next a pop-up will appear to extract MS Project Add-In files. Browse for a relevant location and then click on ‘Install’ button.
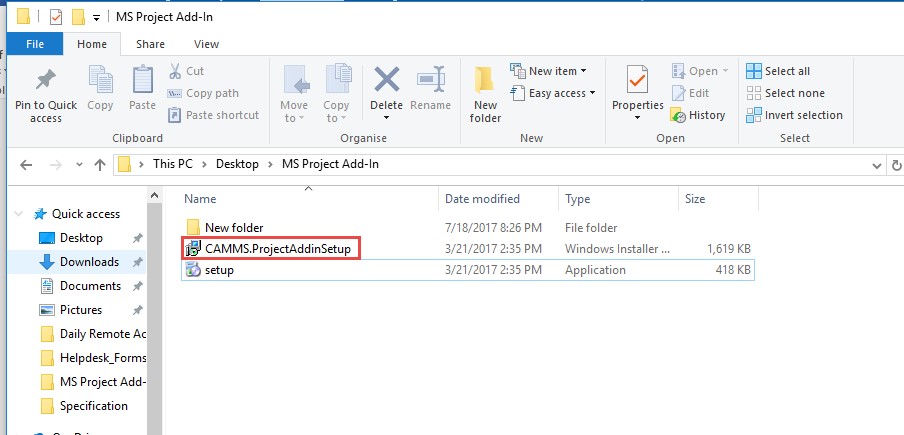
6.Next, navigate to the ‘Destination Folder’ mentioned above and extract the ZIP files. Then open the folder and click on ‘CAMMS.ProjectAddinSetup’.
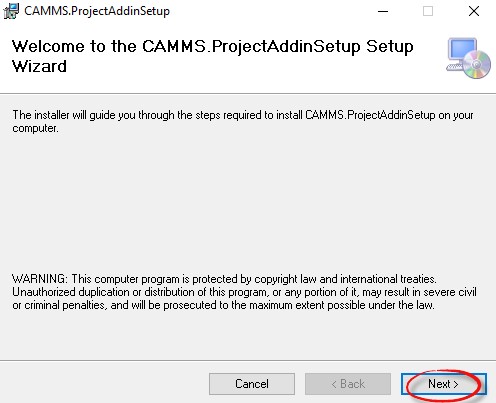
7. Once you click, the setup wizard will be initiated. Click ‘Next’ to proceed with the installation.
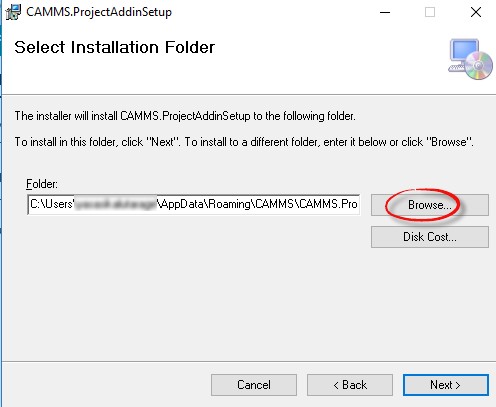
8. Browse for the relevant folder to save the set-up files.
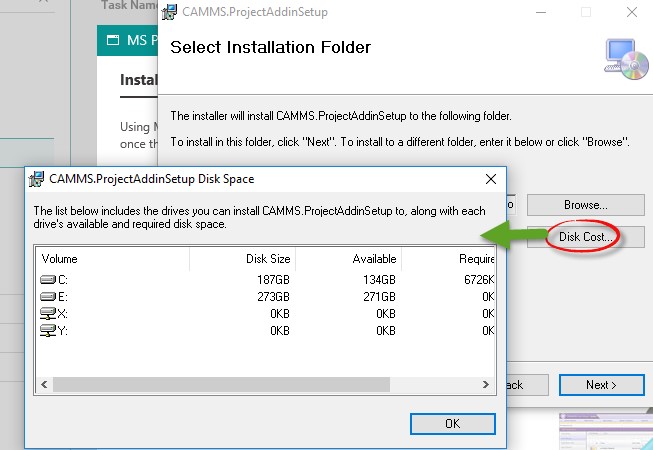
9. Click on ‘Disk Cost’ button to view a list of drives available for you to select to install the project add-in. It also includes each drive’s available and required disk spaces
Once you select the folder, click on ‘Next.
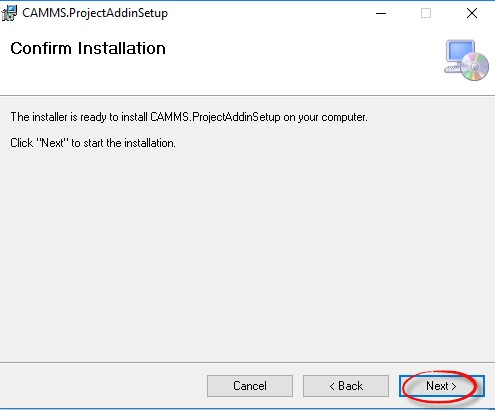
10. Click ‘Next’ again to confirm the installation.
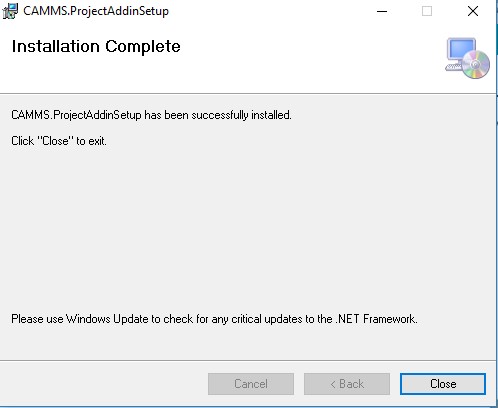
11. Once the add-in is installed successfully, the installation message will be displayed. You can close the dialog-box.
Copyright © 2014-2015 CAMMS Online Help. All rights reserved.
Last revised: July 26, 2017